
Vloggers should know the importance of having quality videos on their channels. It’s all about your viewers, and if they can’t understand or see clearly, they’ll quickly lose interest. The purpose of this article is to explain why vlogging tripods are essential for serious vloggers and how effectively use them. It is an essential tool for any serious videographer and photographer. It holds the camera steady and reduces shaky footage that can be distracting for viewers. A vlogging tripod takes this concept one step further by being portable enough to take on the go while still providing stability.
But that’s not all; here are some other benefits of using a vlogging tripod:
- Better framing: With a tripod, position your camera at the perfect angle for each shot without having to hold it yourself.
- Consistent footage: When you’re holding your camera by hand, your movements cause slight variations in the video each time of shoot something new. When using this, every shot will look more consistent because there won’t be any subtle changes in framing due to movement.
- Professional-looking videos: If you want the content to look professional and polished like the pros do it then investing in high-quality equipment is key!
How to use vlog tripod? Now that we’ve established why using a vlogging tripod is so important let’s dive into how best set up and use one:
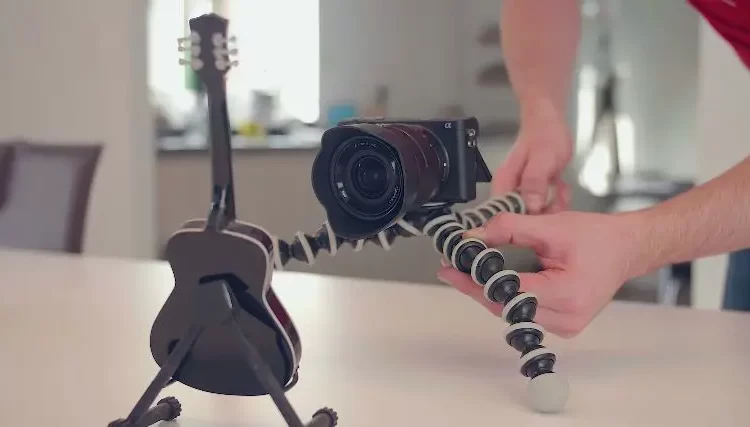
- Choose the right tripod-There are countless options when it comes to buying tripods. Top small table models designed specifically for smartphones and compact cameras up to larger floor-standing units. It is capable of supporting heavier DSLRs such as Canon EOS or Nikon D-series cameras. Consider factors such as size, weight capacity, durability, portability, and compatibility with different types of cameras. And it is cost-effectiveness when choosing which model might work best for you.If you need to buy such type of tripods, then visit Vlogtribe.com.
- Mounting – Once picked the right tripod mount, attach it securely onto the top plate of your chosen model before mounting it on its screw thread. Make sure everything feels tight enough before tightening the screws too. so, that nothing shakes loose during shooting sessions.
- Adjustment of height as needed – When setting up the legs most tripods come with adjustable sections allowing users flexibility in terms of height adjustment depending on their needs. whether filming low-angle shots just off ground level which makes sure everything remains stable throughout the filming process regardless of what angle is to be shot.
- Positioning camera and Frame Shot- Before pressing the record button make sure everything looks good from the lens point-of-view. Use viewfinder screes, which display preview mode along with built-in spirit levels. Many models enable precise adjustments regarding both tilt & rotation axes making certain straight horizons line up correctly.
- Get Creative With Different Angles And Shots – Experimenting with different angles and framing techniques add visual interest and a variety of static scenes. It gives audiences something extra to watch beyond words spoken alone. Try incorporating panning and tilting movements whilst keeping composition balance. It still maintains overall stability due to the usage stable platform provided by trusty old friends.
In short, a good vlogging tripod is necessary for creating professional-looking videos. Consider factors like portability, durability, compatibility, and creativity when making your purchase decision. Experiment with angles and frames to keep your viewers engaged.